Using the Shipixen ↔️ Netlify Deploy Integration
- Updated on
Shipixen supports 1-click deploy to Netlify.
Netlify's Next.js runtime supports Shipixen/Next.js functionality without the need for additional configurations or code changes.
Deploying to Netlify
In the Shipixen app, configure your website and press "Generate app". If you are unsure how, check out this guide.
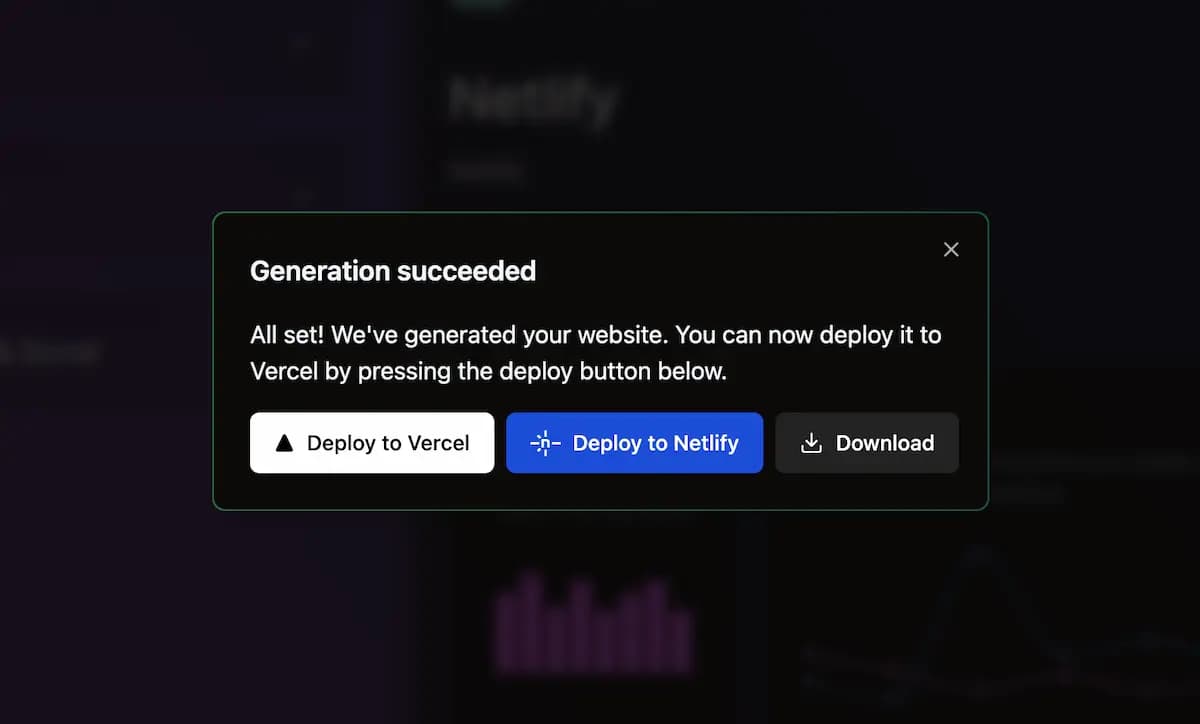
After generation succeeds, you will see a "Deploy to Netlify" button. Press it to deploy your website to Netlify.
To use the Shipixen Vercel Integration, you need to download the Shipixen app and have a Vercel account.
As part of this process, a temporary public Github repository will be created. Vercel can only deploy from a public repository at the moment, so the only alternative to this is to download the zip and deploy yourself.
The repository lives for up to 15 minutes (while you deploy for the first time) and then is deleted.
Netlify generates serverless functions that will handle Next.js functionalities such as server-side rendered (SSR) pages, incremental static regeneration (ISR), next/images, etc.
See Next.js on Netlify for more details.
Deploying an existing Shipixen-generated codebase
If you already have a Shipixen-generated codebase (e.g. you've downloaded it as a zip) and want to deploy it to Netlify, follow these steps:
- Create a repository on Github (or GitLab, Bitbucket, Azure DevOps) and push the codebase
On Netlify, you can deploy a Shipixen-generated codebase by following these steps:
- Add a new site
- Import an existing project
- Select Github (or GitLab, Bitbucket, Azure DevOps)
- Select the repository with the Shipixen-generated codebase
- Give it a name & use the default build settings
- Press Deploy
Other options
You can also download a zip file of your project and deploy it to Vercel or Netlify manually.
See other deployment options for more information.