Importing blog posts from Ghost
- Updated on
In this guide, we'll walk through how to import your blog posts from Ghost into Shipixen. We'll also cover how to customize your theme and deploy your blog to Vercel with 1 click.
Overview of the process
The process will require 3 steps to complete:
- Export your Ghost blog data as a JSON file
- Import the Ghost blog data into Shipixen
- Customize your theme and deploy to Vercel
1. Exporting your Ghost blog posts
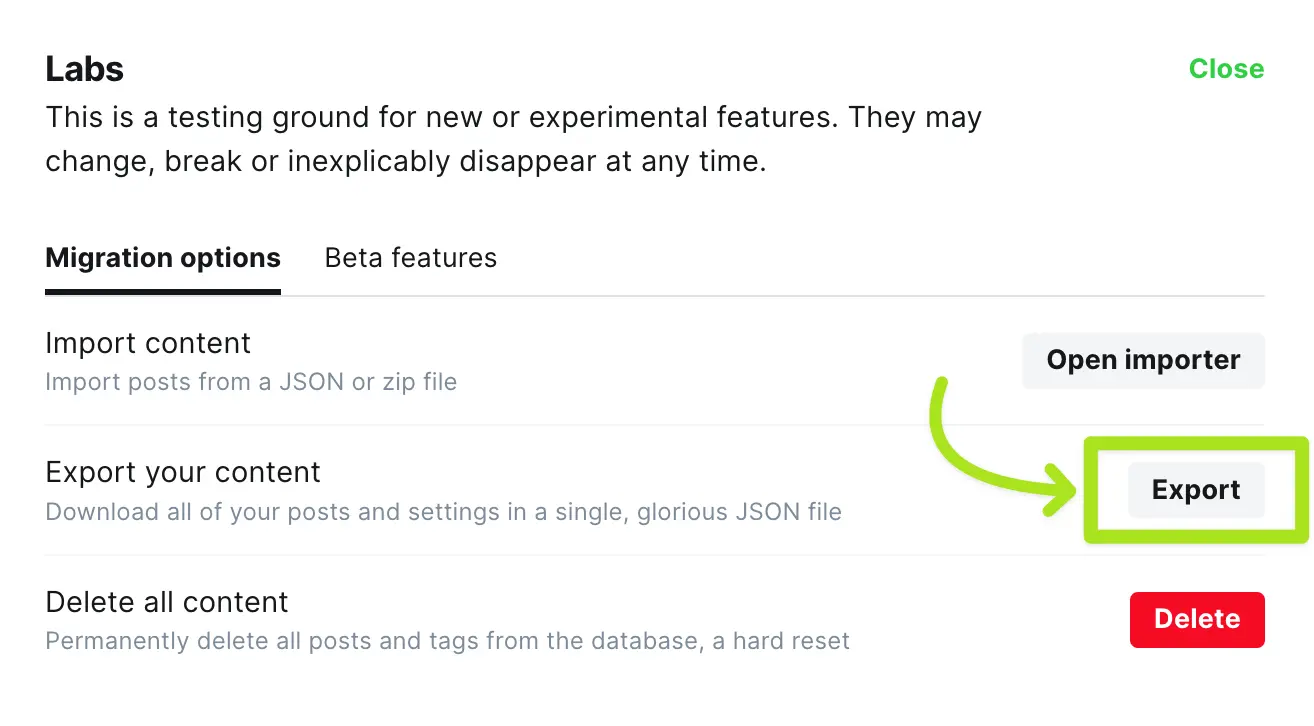
In Ghost, you can export your blog posts by going to Settings → Labs → (Open Labs) → Export. You will get a JSON file that you can import into Shipixen.
After you press Export in Ghost, you will get a JSON file that you can import here.
1. Go to account settings

2. Go to Advanced → Labs
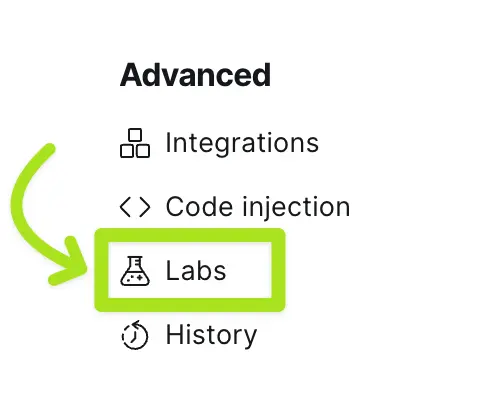
3. Open Labs panel

4. Press Export
2. Importing your Ghost blog posts into Shipixen
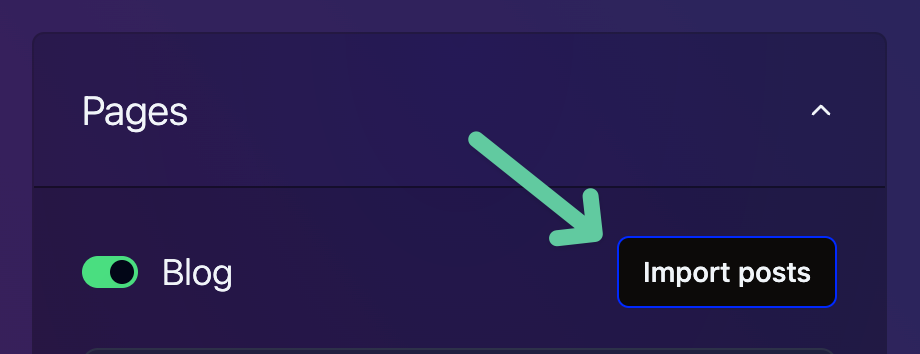
Once you have your JSON file, you can import it into Shipixen by going to Pages → Import posts. You can then select the previously-exported Ghost JSON archive. Shipixen will extract your blog posts and images automatically.
The file you import is not sent to any server to protect your privacy. All the processing of content is done locally.
1. Under the Pages section, press Import posts
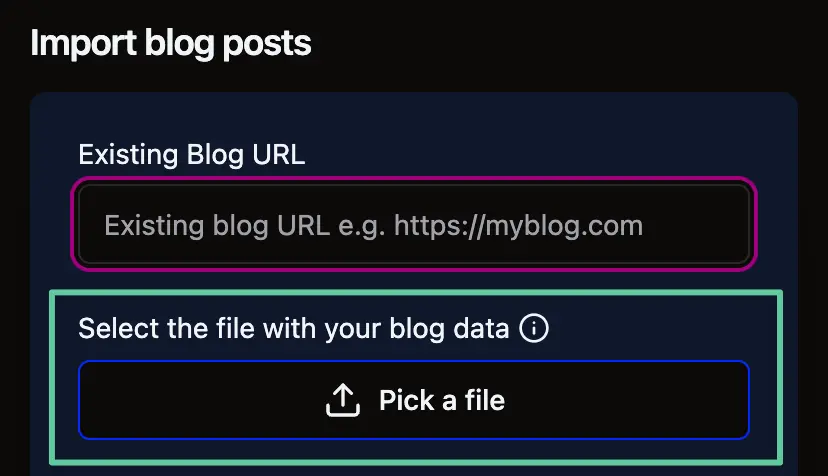
2. Select the JSON exported from Ghost
3. That's it! You should now see a confirmation that the posts were read
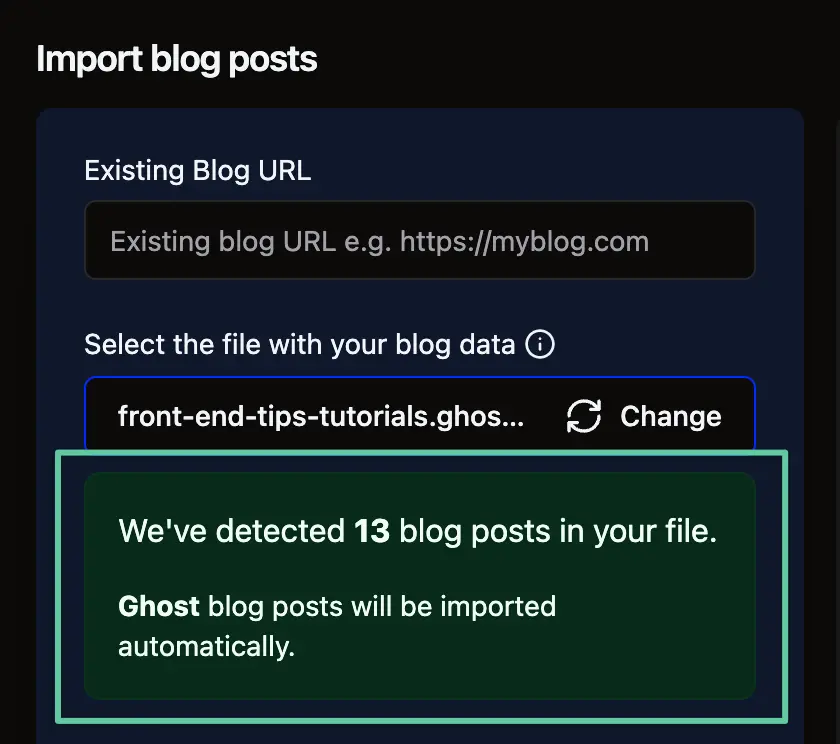
Optionally, you can specify the current domain of you blog. This will be used to retrieve the images from your blog posts.
If you don't specify a domain, Shipixen will use the domain specified under Homepage → Domain. You can also skip image download later and add them manually after you generate the boilerplate.
To continue, press Done. You should see a confirmation that the posts will be imported.

3. Customizing your theme and deploying to Vercel
With the import ready, you can now finish up the customization of your blog and deploy it to Vercel.
For the homepage, we recommend the following settings:
- Turn on add blog list to the homepage
- Turn off include CTA button
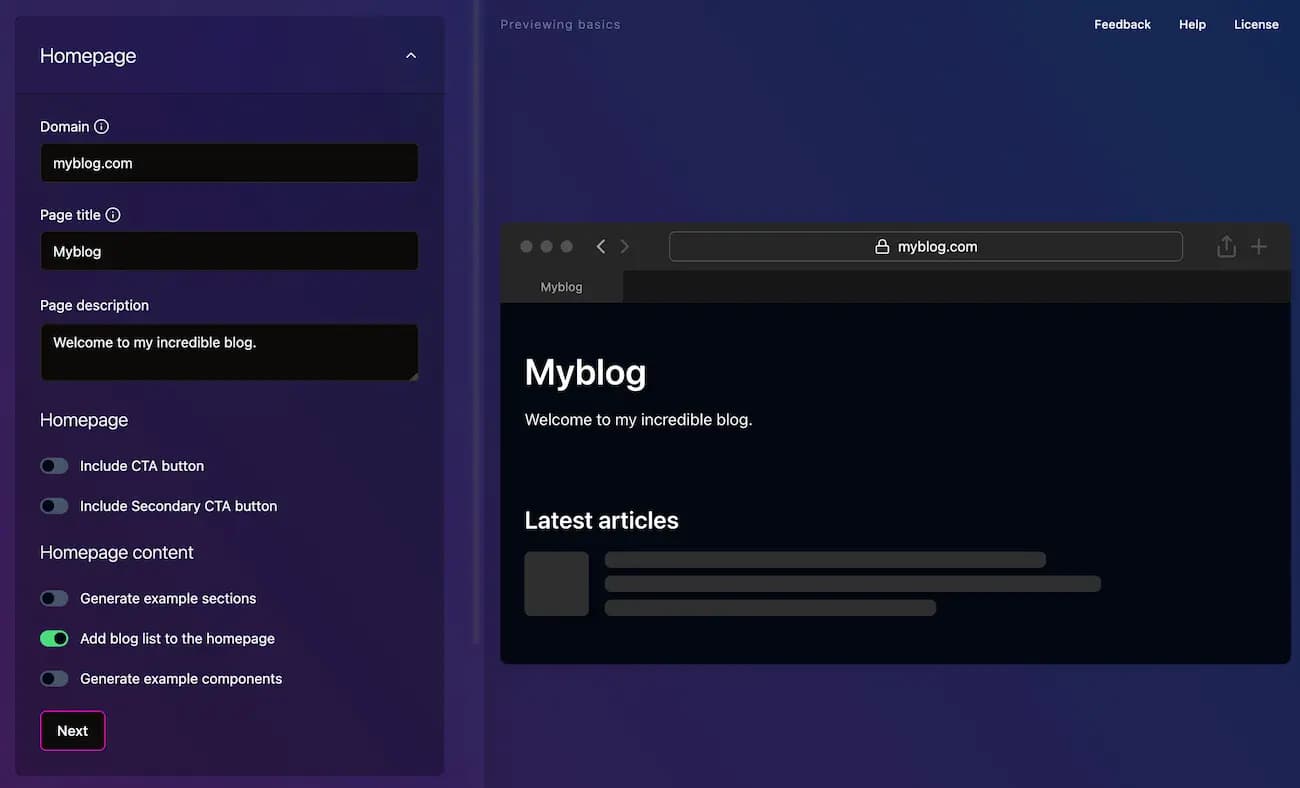
Then, the only thing left to do is upload your logo and choose a theme to your liking!
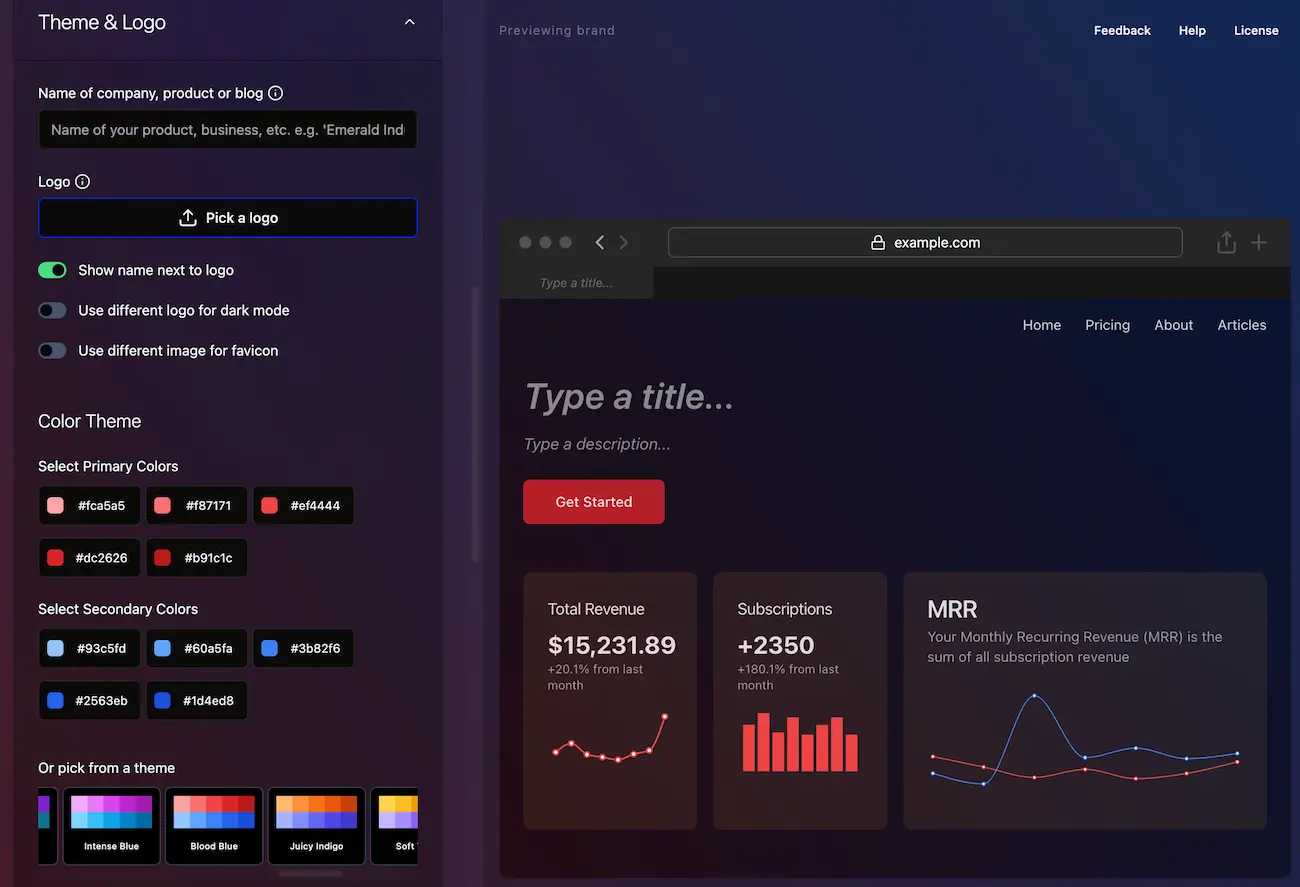
Congratulations! You've successfully imported your blog posts from Ghost into Shipixen.
Now you can deploy your blog to Vercel with 1 click!
