
Writing blog posts: Shipixen blog crash course & Markdown cheatsheet
- Updated on
Basics
Posts on the Shipixen blog are written in Markdown and stored in the /data directory. The blog is generated using Next.js and MDX.
To add a new post, create a new .mdx file in the /data directory.
MDX lets you use JSX in your markdown content. You can import components, such as interactive charts or alerts, and embed them within your content. This makes writing long-form content with components a blast.
Creating a post
Adding an article to a blog generated with Shipixen is as simple as creating a Markdown (.mdx) file in the data directory. The file name is used as the slug for the article.
After you created the article, you should set the Frontmatter and then you're off to the races.
The Frontmatter of the file is used to populate the article's metadata, such as title, summary or images. Let's look at some Frontmatter examples.
Blog post example
Here is an example of a blog post with Frontmatter:
---
title: 'Release Notes'
date: '2024-11-12'
tags:
  - 'release-notes'
  - 'updates'
  - 'changelog'

images:
  - '/static/images/release.webp'
  - '/static/images/release-2.webp'

summary: 'See what is new in the product'
layout: PostSimple
---

## Release Notes
This page contains the release notes for the product.

### Version 1.0.0
- Added new feature
- Fixed bug
Out of inspiration? You can use the Blog Post Generator to generate blog posts or outlines quickly!
Frontmatter
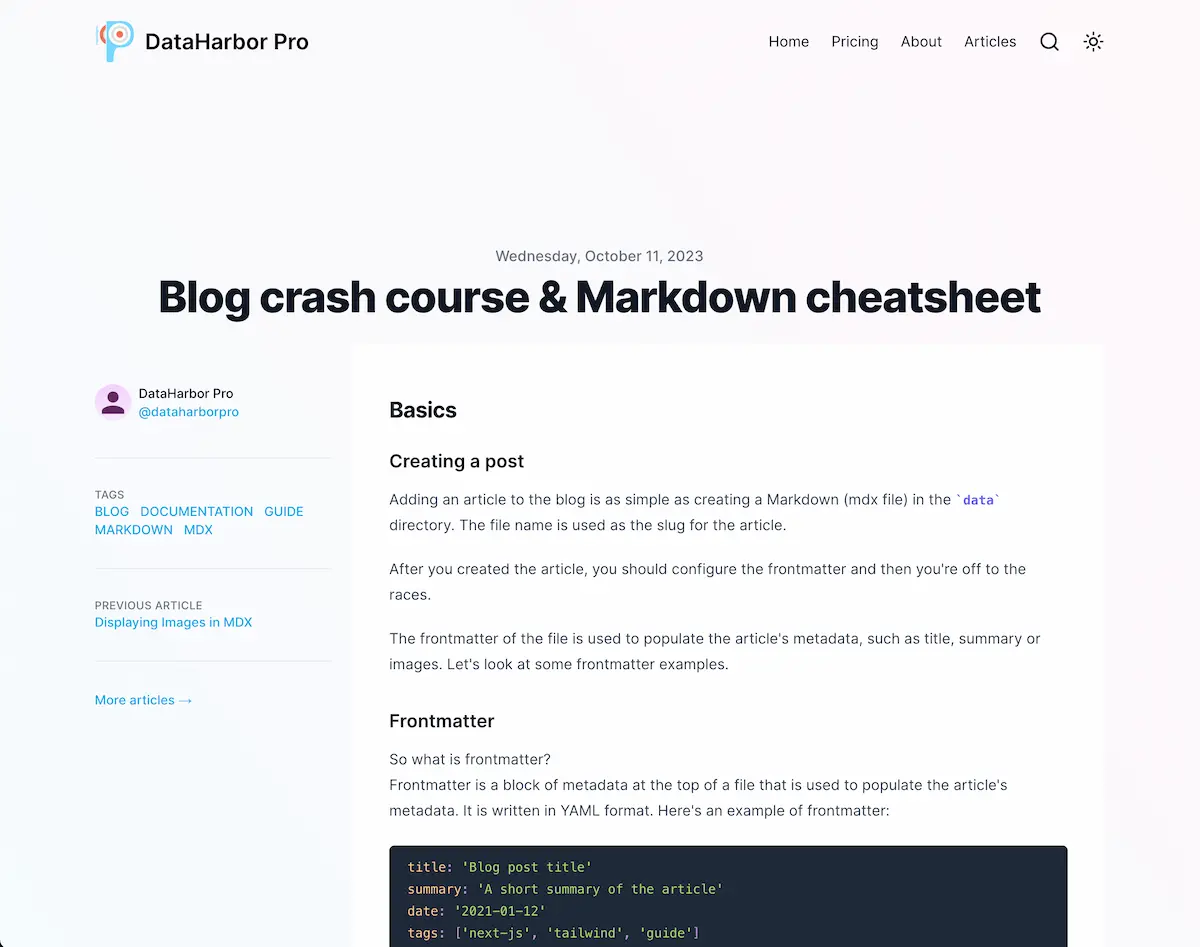
So what is frontmatter?
Frontmatter is a block of metadata at the top of a file that is used to populate the article's metadata. It is written in YAML format. Here's an example of frontmatter:
title: 'Blog post title'
summary: 'A short summary of the article'
date: '2021-01-12'
tags:
  - 'next-js'
  - 'tailwind'
  - 'guide'
That's just the basics, but there are more fields available. Here's a full list of all the fields that can be used in the frontmatter:
title: 'Blog post title'
summary: 'A short summary of the article'
date: '2021-01-12'
tags:
  - 'next-js'
  - 'tailwind'
  - 'guide'

# Optional fields
lastmod: '2021-02-01'
images:
  - '/static/images/backdrop-1.jpg'
  - '/static/images/backdrop-2.jpg'

authors:
  - 'josh'
  - 'jane' # more authors can be defined under data/authors by creating a new .md file

layout: 'PostLayout' # 3 layouts are available: PostLayout (default) or PostBanner or PostSimple
draft: false # Set to true to hide the article from the blog
More about Frontmatter
Frontmatter follows Hugo's standards.
Please refer to contentlayer.config.ts for an up to date list of supported fields. The following fields are supported:
title (required)
date (required)
tags (optional)
lastmod (optional)
draft (optional)
summary (optional)
images (optional)
authors (optional list which should correspond to the file names in `data/authors`. Uses `default` if none is specified)
layout (optional list which should correspond to the file names in `data/layouts`)
canonicalUrl (optional, canonical url for the post for SEO)
Layouts
There are currently 4 post layouts available: PostLayout, PostLayoutWithToc, PostSimple and PostBanner.
PostLayoutis the default 2 column layout with meta and author information.PostLayoutWithTocis a layout that displays a blog post with a table of contents.PostSimpleis a simplified version ofPostLayoutPostBannerfeatures a banner image.


It's possible to create multiple layouts and turn the blog into anything you want: from a minimalistic image gallery to a documentation site.
Read more about creating custom layouts.
Introduction to MDX
Markdown and Mdx parsing is supported via unified, and other remark and rehype packages. next-mdx-remote allows us to parse .mdx and .md files in a more flexible manner without touching webpack.
GitHub flavored markdown is used. mdx-prism provides syntax highlighting capabilities for code blocks.
The following markdown cheatsheet is adapted from: https://guides.github.com/features/mastering-markdown/
What is Markdown?
Markdown is a way to style text on the web. You control the display of the document; formatting words as bold or italic, adding images, and creating lists are just a few of the things we can do with Markdown. Mostly, Markdown is just regular text with a few non-alphabetic characters thrown in, like # or *.
See the Syntax guide for a complete reference.
Nested Routes
The blog template supports posts in nested sub-folders. This helps in organisation and can be used to group posts of similar content e.g. a multi-part series.
For example, if you create a file at /data/nested-route/my-post.mdx, the post will be available at /nested-route/my-post.
Table of Contents
The TOCInline component can be dropped into any post to generate a table of contents.
For example, the TOC in this post was generated with the following code:
<TOCInline toc={props.toc} exclude="Overview" toHeading={2} />
You can customise the headings that are displayed by configuring the fromHeading and toHeading props, or exclude particular headings by passing a string or a string array to the exclude prop. By default, all headings that are of depth 3 or smaller are indented. This can be configured by changing the indentDepth property. A asDisclosure prop can be used to render the TOC within an expandable disclosure element.
Here's the full TOC rendered in a disclosure element.
<TOCInline toc={props.toc} asDisclosure />
Table of Contents
<TOCInline toc={props.toc} asDisclosure collapse />
Table of Contents
- Basics
- Creating a post
- Blog post example
- Frontmatter
- More about Frontmatter
- Layouts
- Introduction to MDX
- What is Markdown?
- Nested Routes
- Table of Contents
- How
- Syntax guide
- Headers
- Emphasis
- Lists
- Unordered
- Ordered
- Images
- Links
- Blockquotes
- Inline code
- Syntax highlighting
- Line diffing and highlighting
- Footnotes
- Task Lists
- Tables
- Strikethrough
- Next steps
How
Simplify create multiple folders inside the main /data folder and add your .md/.mdx files to them. You can even create something like /data/nested-route/deeply-nested-route/my-post.md
Syntax guide
Here’s an overview of Markdown syntax that you can use anywhere on GitHub.com or in your own text files.
Headers
# This is a h1 tag

## This is a h2 tag

#### This is a h4 tag
Emphasis
_This text will be italic_

**This text will be bold**

_You **can** combine them_
This text will be italic
This text will be bold
You can combine them
Lists
Unordered
- Item 1
- Item 2
  - Item 2a
  - Item 2b
- Item 1
- Item 2
- Item 2a
- Item 2b
Ordered
1. Item 1
1. Item 2
1. Item 3
   1. Item 3a
   1. Item 3b
- Item 1
- Item 2
- Item 3
- Item 3a
- Item 3b
Images

Format: 

Links
http://github.com - automatic!
[GitHub](http://github.com)
http://github.com - automatic! GitHub
Blockquotes
As Kanye West said:

> We're living the future so
> the present is our past.
As Kanye West said:
We're living the future so the present is our past.
Inline code
I think you should use an
`<addr>` element here instead.
I think you should use an <addr> element here instead.
Syntax highlighting
Here’s an example of how you can use syntax highlighting with GitHub Flavored Markdown:
```js:fancyAlert.js
function fancyAlert(arg) {
  if (arg) {
    $.facebox({ div: '#foo' })
  }
}
And here's how it looks - nicely colored with styled code titles!
function fancyAlert(arg) {
  if (arg) {
    $.facebox({ div: '#foo' })
  }
}
Line diffing and highlighting
It is possible to show added/removed lines by using the diff language tag. For example 'diff-js', 'diff-jsx', 'diff-html', 'diff-css', 'diff-scss', 'diff-md' etc.
The, add a plus for added lines and a minus for removed lines.
```diff-js:fancyAlert.js
function fancyAlert(arg) {
  if (arg) {
    $.facebox({ div: '#foo' })
  }
}
And here's how it looks - nicely colored with styled code titles!
function fancyAlert(arg) {
  if (arg) {
-   $.facebox({ div: '#foo' })
+   $.facebox({ div: '#bar' })
  }
}
Footnotes
Here is a simple footnote[^1]. With some additional text after it.

[^1]: My reference.
Here is a simple footnote1. With some additional text after it.
Task Lists
- [x] list syntax required (any unordered or ordered list supported)
- [x] this is a complete item
- [ ] this is an incomplete item
- list syntax required (any unordered or ordered list supported)
- this is a complete item
- this is an incomplete item
Tables
You can create tables by assembling a list of words and dividing them with hyphens - (for the first row), and then separating each column with a pipe |:
| First Header                | Second Header                |
| --------------------------- | ---------------------------- |
| Content from cell 1         | Content from cell 2          |
| Content in the first column | Content in the second column |
| First Header | Second Header |
|---|---|
| Content from cell 1 | Content from cell 2 |
| Content in the first column | Content in the second column |
Strikethrough
Any word wrapped with two tildes (like ~~this~~) will appear crossed out.
Next steps
Ready to dive deeper? Check out these guides:
Footnotes
My reference. ↩