Importing blog posts (custom format)
- Updated on
In this guide we will show you how to import blog posts from a JSON file to a file-based markdown blog. After that you can deploy your blog to Vercel with a single click.
It's important to note that images should have absolute URLs if you want them to be imported automatically. If you don't, you'll be able to add the missing images later manually.
Overview of the process
The process will require 3 steps to complete:
- Export blog posts in the supported JSON format (more on that below)
- Import the JSON file into Shipixen
- Customize your theme and deploy to Vercel
1. Overview of the JSON format
Shipixen supports the following format for importing blog posts.
In principle, you should be able to map content from any blog engine to it. Here's an example JSON file that you can use as a reference.
For more details on the expected format, see the detailed description below.
export interface Blog {
  data: {
    posts: BlogPost[];
    tags: Tag[];
    users: Author[];
    posts_authors: PostsAuthors[]; // Which author wrote which post.
    posts_tags: PostsTags[]; // Which tag is assigned to which post.
    posts_meta: PostsMeta[]; // Which meta data is assigned to which post.
  };
}
export interface BlogPost {
  id: number;
  title: string;
  slug: string;
  markdown: string; // The body of the post as markdown. HTML should work in general, but it might cause issues in certain cases.
  feature_image?: string; // Optional image for the post.
  created_at: string;
  updated_at: string;
  published_at: string | null;
}
export interface Tag {
  id: string;
  name: string; // e.g. "JavaScript Tutorial"
  slug: string; // e.g. "javascript-tutorial"
}
export interface Author {
  id: string;
  name: string;
  slug: string;
  profile_image?: string; // Optional image for the author.
  bio?: string; // Optional bio for the author.
  website?: string; // Optional website for the author.
}
export interface PostsTags {
  id: string;
  post_id: string;
  tag_id: string;
  sort_order: number;
}
export interface PostsAuthors {
  id: string;
  post_id: string;
  author_id: string;
  sort_order: number;
}
export interface PostsMeta {
  id: string;
  post_id: string;
  meta_title: string | null; // Optional meta title for the post. The post title will be used if this is not provided.
  meta_description: string | null; // Optional meta description for the post. This will be left empty if not provided.
}
2. Importing your blog posts into Shipixen
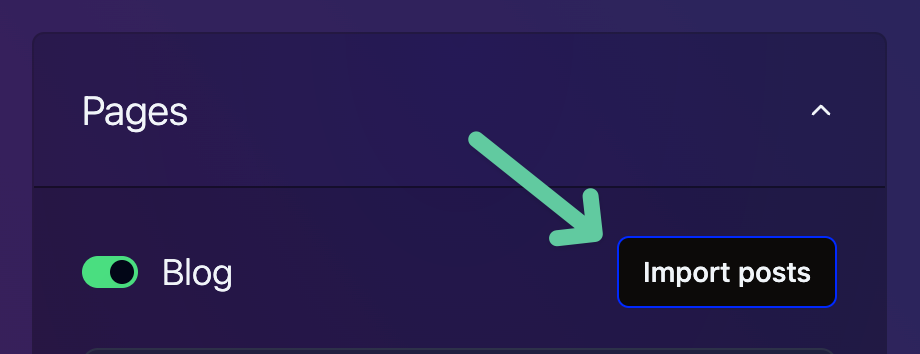
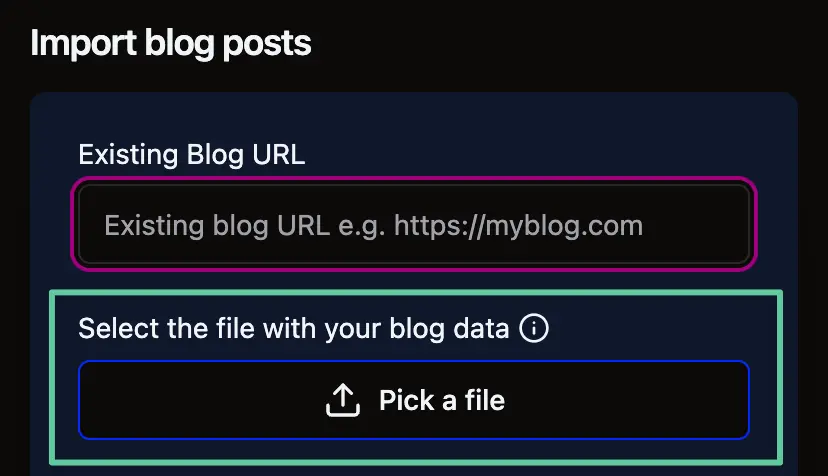
Once you have your JSON file, you can import it into Shipixen by going to Pages → Import posts. You can then select the previously-exported JSON file. Shipixen will validate & extract your blog posts and images automatically.
Note: images need to have absolute URLs in order to be imported automatically. If you don't, you'll be able to add the missing images later manually.
The file you import is not sent to any server to protect your privacy. All the processing of content is done locally.
1. Under pages, press Import
2. Select the JSON file
3. That's it! You should now see a confirmation that the posts were read
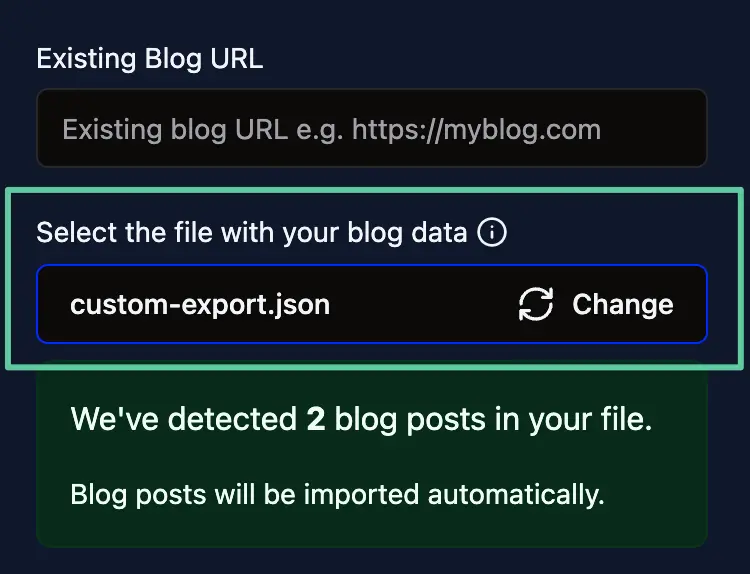
To continue, press Done. You should see a confirmation that the posts will be imported.

3. Customizing your theme and deploying to Vercel
Importing being done, you can now customize your blog and deploy it to Vercel. This step is no different than if you were configuring any other Shipixen blog.
In general, we recommend to add the following settings:
In the Homepage section:
- Turn on add blog list to the homepage
- Turn off include CTA button
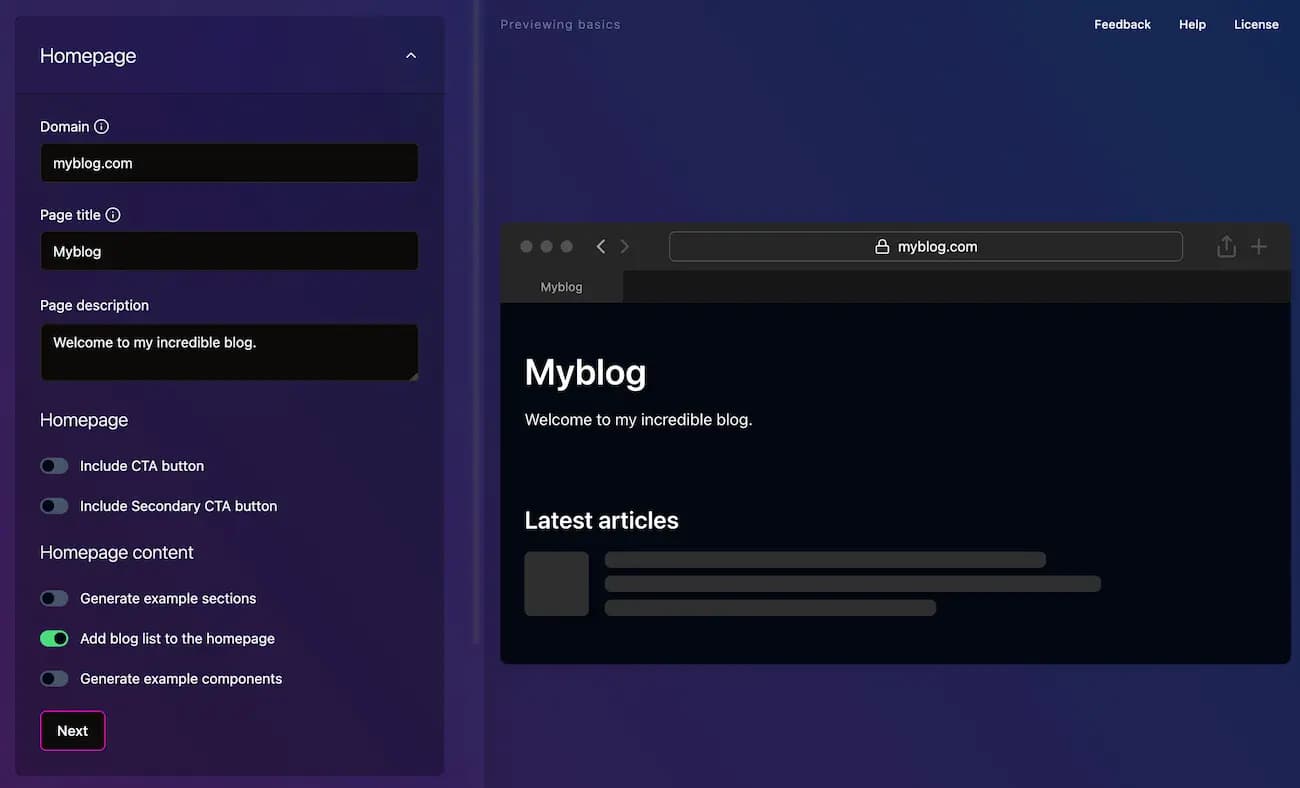
Besides that, the only thing left to do is upload your logo, choose your theme and make sure everything looks good!
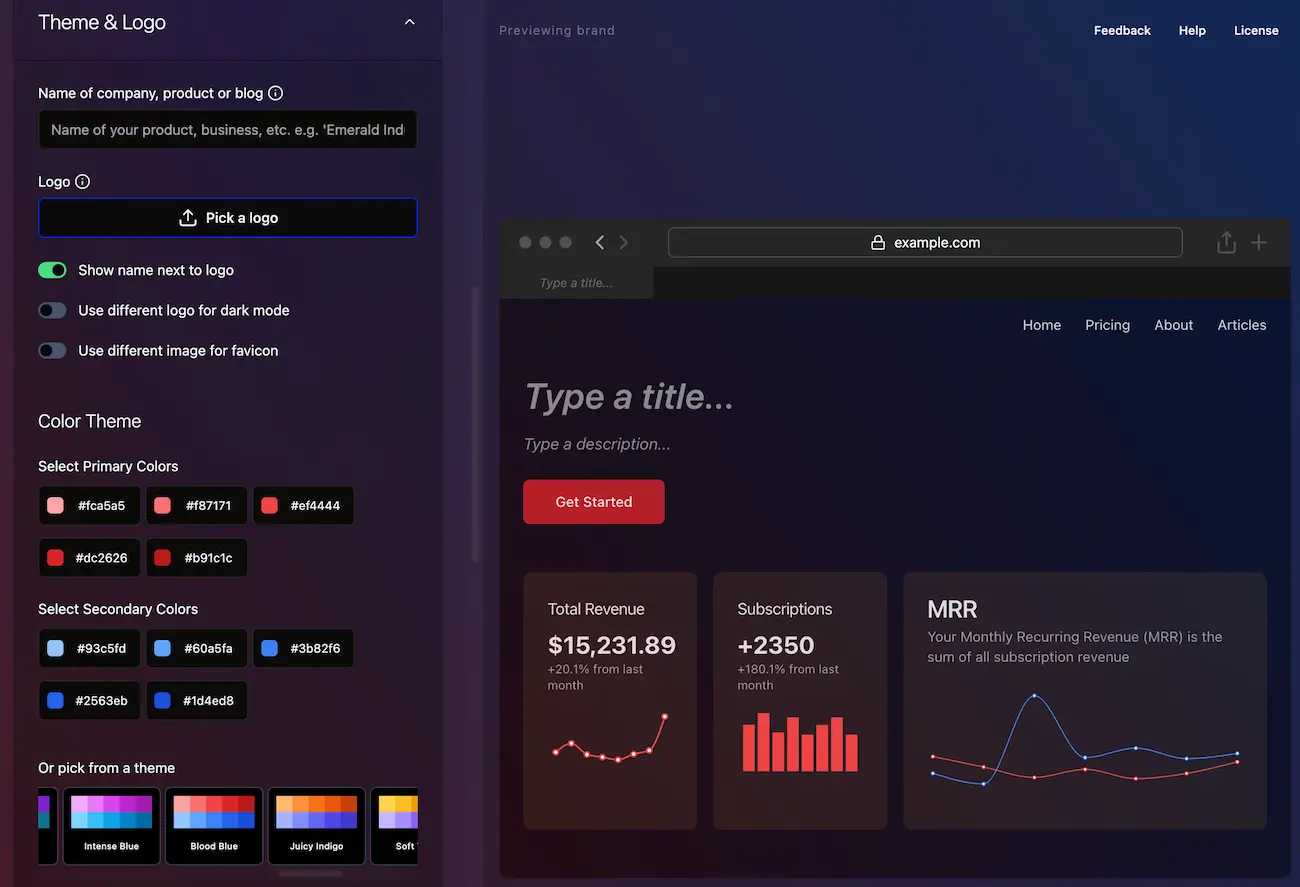
Congratulations! You've successfully imported your blog into Shipixen.
As with all code generated with Shipixen, it is now possible to deploy it to Vercel with 1 click or if needed, download the code as a zip.
